Selecting Secure Print from a Mac OS Device
- Locate a document you wish to print and open it.
- File > Print (or press Command + P). A print dialog box similar to the one shown below will appear:

- Scroll down to "Printer Options", Click to Expand and the select "Special Features"

- Under "Job Processing", Change the drop-down to read "Secured Print", Click OK

- Click Print
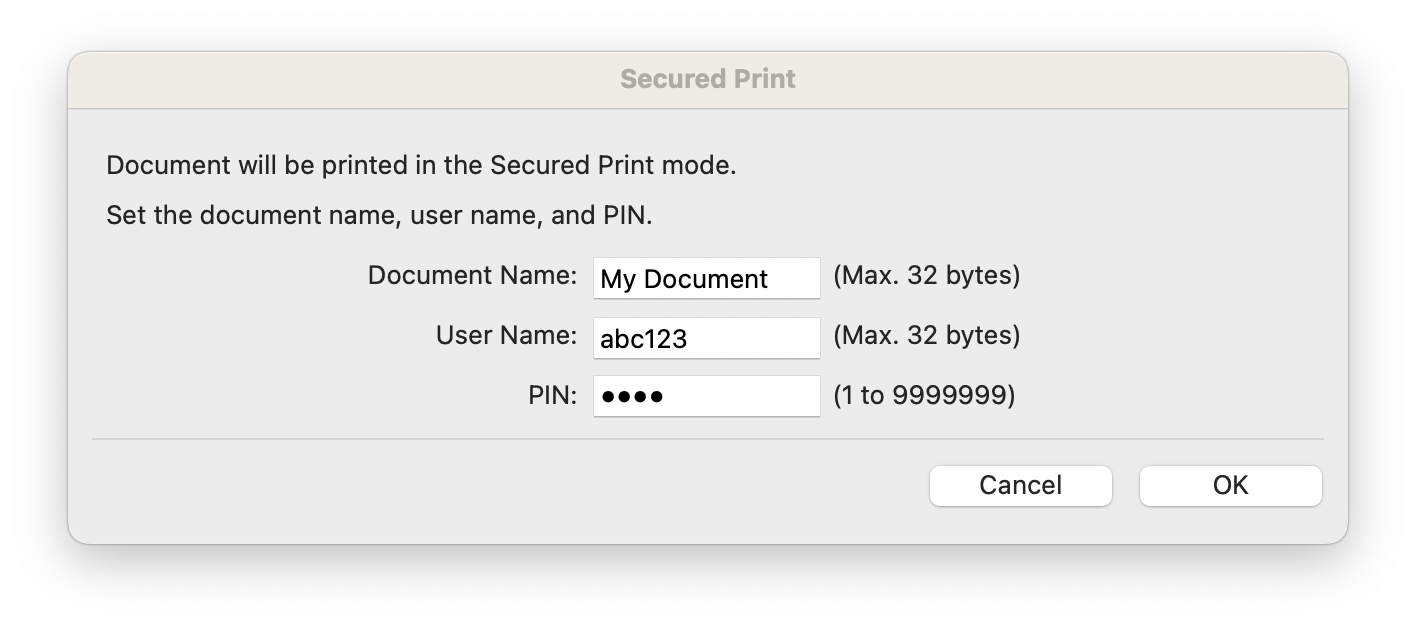
- A Secured Print Window will appear

- Document Name: Whatever you wish
- User Name: Enter your name, netwwork ID, or any identifier you prefer
- PIN: Set a numeric PIN (typically 4 - 8 digits). This PIN will be used to release your print job at the printer
- Click OK
- Your document was sent to the printer. It will held securely (up to 24 hours) until you release it at the device.
Claiming Your Document At The Printer
1. Tap on the Print button on the home screen

2. Select your documents on the printing queue. More than one document can be selected at the same time.

3. Press Start Printing
4. Enter your chosen pin in the dialogue box and press OK.

Printing jobs sent to the queue using the Secure Print function will be held for 24 hours. If not printed, the printing job will be automatically deleted from the queue after this period.